Serving sailors online since 1997
Hunter OEM Parts
General Marine Parts
Hunter 23 Trailer Bearing Replacement
posted 05-19-2022 by Erictheboatman
Click for larger view
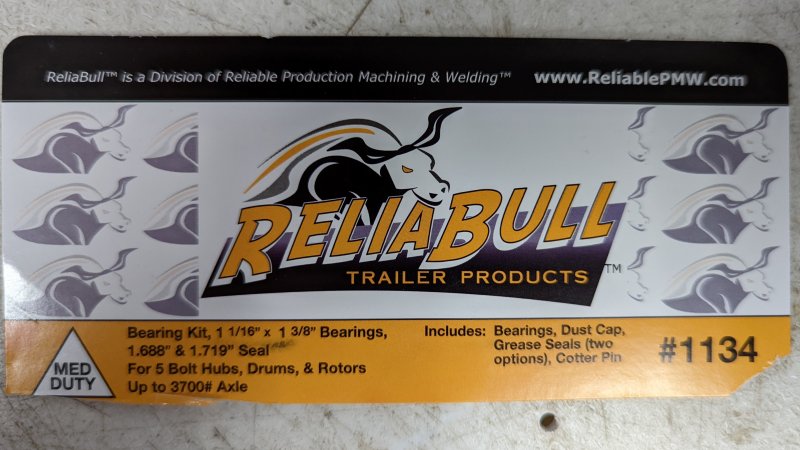
Hunter 23 trailer bearing size and replacement tips for the Ken’s Welding trailers. My trailer was built in 1986 and I’ve also had a 1985 trailer with the same bearings and hubs, I would suspect the other years are similar. You can always cross reference part number to fine the bearing sizes from manufacturer of your choosing. I’ve found by far the most effective seals have the springs in them. In my opinion the best trailer bearing grease is Bel-Ray Marine.
Inner Bearing Cone 1-3/8” P/N L68149
Inner Bearing Cup (Race) 2.362” Dia. P/N L68111
Outer Bearing Cone 1-1/16” P/N L44649
Outer Bearing Cup (Race) 1.980” P/N L44610
Dust Cap 1.980” (Grease Keeper Brand) P/N 6332 For 1” and 1 1/16” hubs
Grease Seal - Double Lip - ID 1.719 / OD 2.565 (1-23/32”) P/N T-23972
Cotter Pin 5/32”x1-1/2” P/N SCP-103
Napa P/N for complete kit 730-4458 (Sold per Side)
Bearing Installation / Replacement:
1. Carefully tap out the existing bearing cups out of the hub using a brass punch.
2. Clean the bore area after removing the cups to ensure there are no nicks or burrs.
3. Carefully tap the new bearing cups into the hub making sure the cups are seated against
the bottom of the bores.
4. Pack the inner bearing full of grease and insert it into the hub.
5. Install the seal into the seal bore using a clean wood block. The seal should be flush to
1/32 above the rear of the hub when installed properly.
6. Pack the center cavity of the hub with grease allowing room for the spindle to pass through.
7. Pack the outer bearing full of grease and insert it into the hub.
8. Place the newly assembled and greased hub onto spindle.
9. Tighten the spindle nut to 30/40 ft./lbs., while turning the hub to ensure the bearing are
properly seated.
10. Loosen the spindle nut until it can be turned with your fingers.
11. Finger tighten the spindle nut by hand without turning the hub.
12. If the cotter pin can be assembled with the nut finger tight, insert the cotter pin without
backing the nut off. If the cotter pin cannot be assembled with the nut finger tight, back the
spindle nut off to the next available slot and insert the cotter pin.
13. Bend the legs of the cotter pin over the top of the spindle to ensure the nut will not Back off.
14. Hub should turn freely when spun by hand with no noticeable movement when pulled back
and forth.