Serving sailors online since 1997
Hunter OEM Parts
General Marine Parts
Traveler and Boom Block upgrades
posted 07-06-2020 by Mike Oldak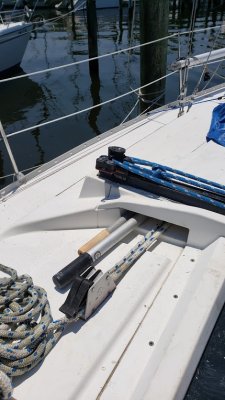
Click for larger view

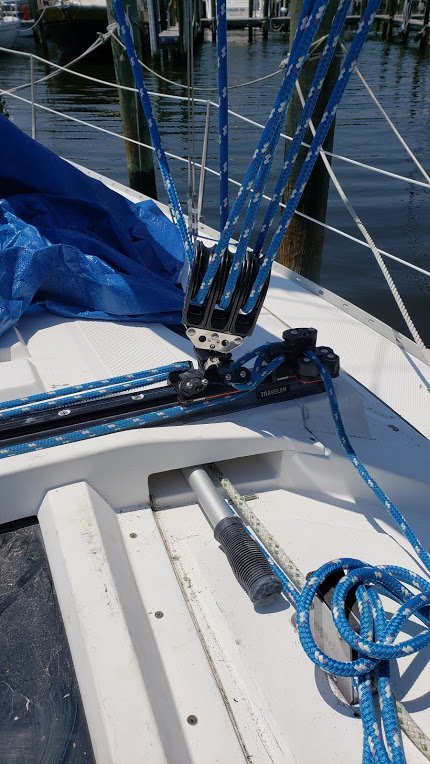
FInished my Harken upgrade for my H34. VERY EASY, but not cheap. I purchased the 6 foot Harken rail with holes at 4 inch spacing (same as original). Purchased 1/4 x 20 SS screws at 2 1/2 inches and 3 at 3 inches (for the ends). With a drill driver, I unscrewed all the old screws from the old rail and removed the rail just to clean up underneath. I removed all the old caulk and PUT caulk into the cabin top attachment grove under the track which was never sealed at the factory. This may account for some of the leaks in the boat. I aligned the old and new tracks and then drilled one 1/4 + hole in the new track using the old track as a guide drilling from the bottom up on the port end of the track. Hunter uses an extra screw at the end of the track which doesnt line up with the 4 inch centers. I caulked around and into the embedded plate and then remounted the old track and placed the new track right on top. I put all the screws through both tracks and lightly tightened all the screws. Then working from the center, I tightened all the screws, installing the 3 inch screws through the new Harken track ends. I did need a 4 angle grinder to cut off about 1/4 inch on the port side and about 4 inches of track on the starboard side. Done! (except for new lines)
I mounted the new track on top of the old track in order to avoid the issues identified above without using the Harken tall track since that track seems more difficult to mount since it does not come with 4 inch spaced holes which align perfectly with the existing rail and original fittings.
I havent tried it out yet, but it seems that the 40(?) ball bearings on the Harken would be much better than the 4 wheels on the original traveler.
P.S. I did screw up and when I was doing some leak prevention, had easily removed all the screws and put caulking around each screw. This really made it incredibly difficult to remove 5 of the screws which I ended up drilling out, but the new track covered all of my mistakes. If you havent tried to caulk these screws, then you wont run into this problem. I had caulked them when I saw some water coming into the boat when spraying the track area. It might have been from the companion way top, but I was trying everything to stop leaks. As stated above the caulk connection between the deck top and the companion way cover was NOT caulked under the track, so water might have been entering there.

Click for larger view