Serving sailors online since 1997
Hunter OEM Parts
General Marine Parts
Trailer Rebuild
posted 01-20-2017 by Doug J
Click for larger view
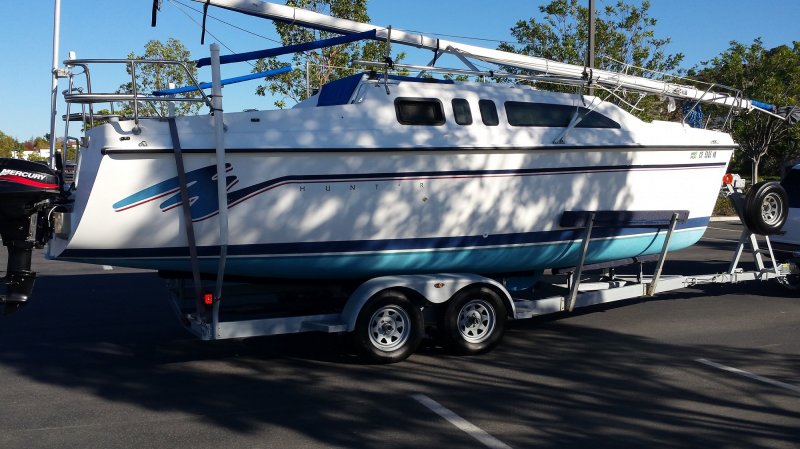
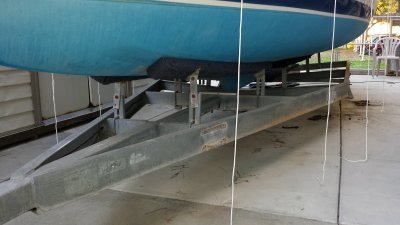
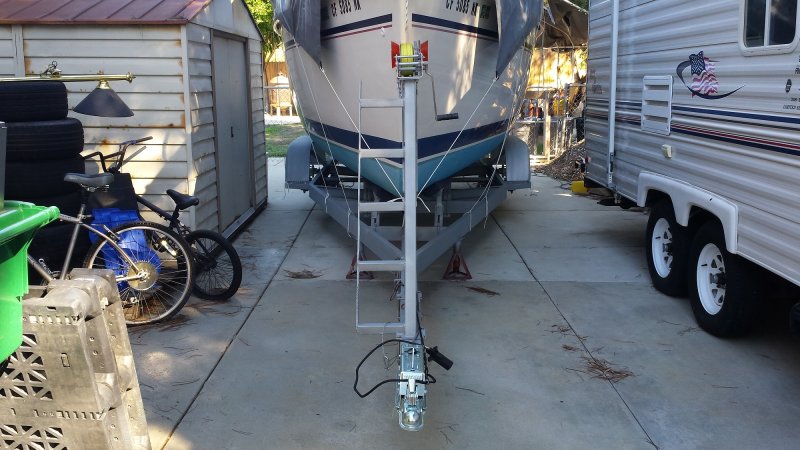
This is a picture of my 1994 H26 sitting on its original and improved trailer.
Given the fact the main parts of the trailer are galvanized it was basically in good condition and worth rebuilding. The investment in new parts including tires came to around $1500. Considering the cost of a new trailer could be as much as $6000, I figure it was well worth the investment of time and money.
I also prefer the look of the old original trailer with its scalloped fenders and guide-posts. The PO did add additional support bunks under the bow as well as the side guides.
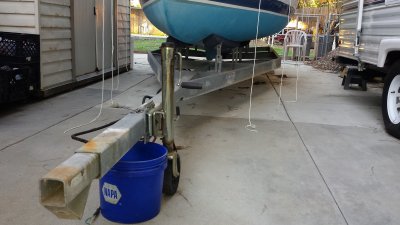
Click for larger view
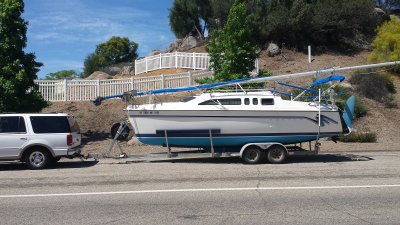
Here is a picture just after purchasing and heading home. Hard to believe, but the trailer had the original 1994 tires on it, 21 years old!!! I was told the tires were often removed and stored inside, so that may be how they lasted so long. I felt uncomfortable about the 60 mile ride home, worried I might not make it. The drum brakes did not work either! I took it slow and made it home. Considering myself lucky to make it home, I vowed not to use it again until rebuilt.
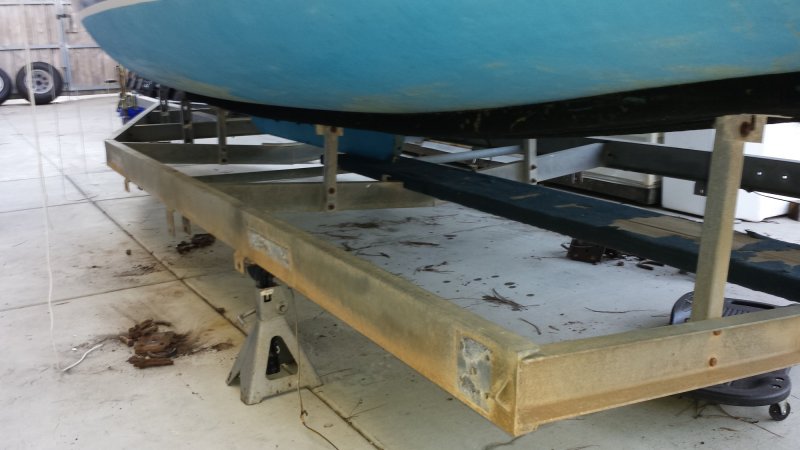
Click for larger view
The galvanized metal of the main parts were in good shape, no rust, just dis-colored due to age.
Click for larger view
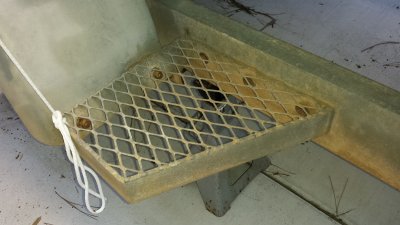
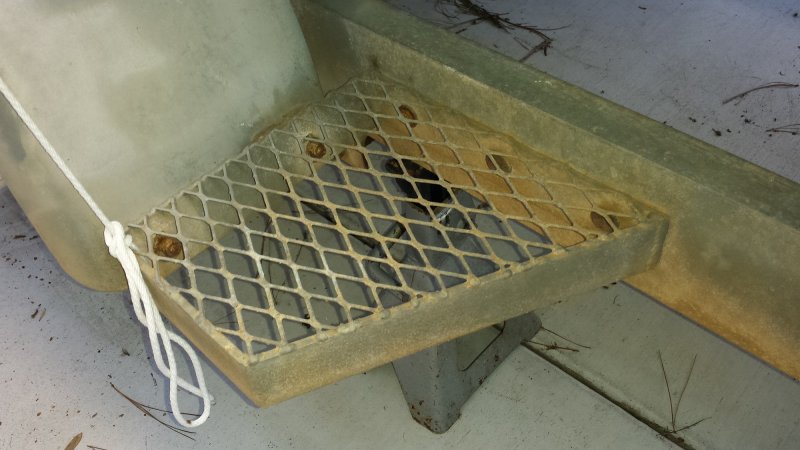
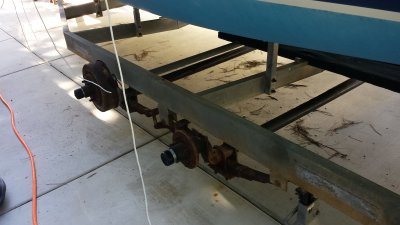
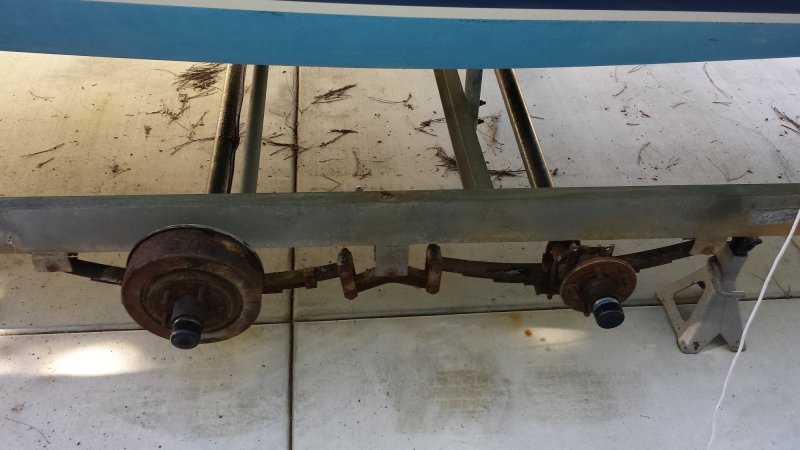
All the attached parts were another story, nothing but rust.
Click for larger view

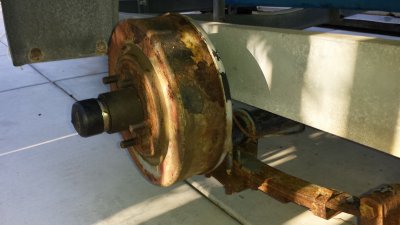
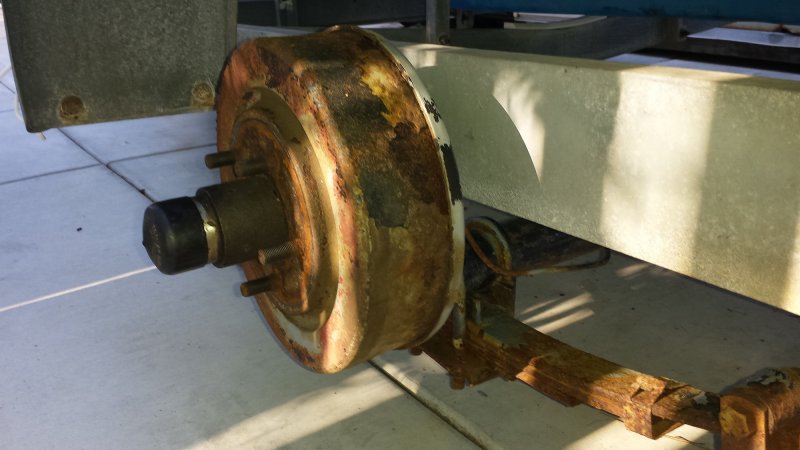
The drum brakes had to go.

Click for larger view

Click for larger view
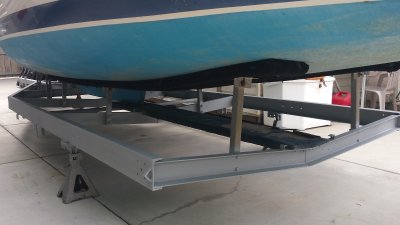
I rebuilt the trailer with the boat sitting on it, as I did not have a slip to put the boat in and did not want to pay high daily storage and hoist fees in a boat yard.
I was able to rebuild everything with the boat on it accept for the bunks, which are okay. New carpet will be installed at a future date.
I was able to rebuild everything with the boat on it accept for the bunks, which are okay. New carpet will be installed at a future date.
Click for larger view

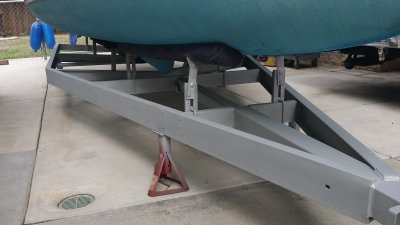
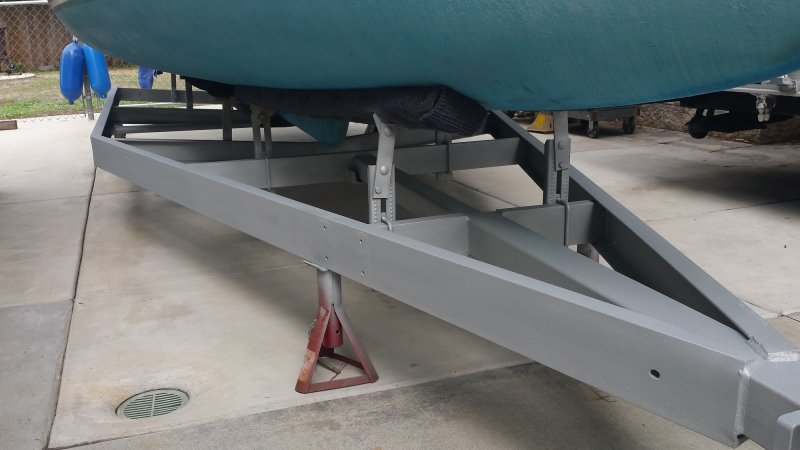
I was able to remove all the attached parts accept for the bunk supports. Jack stands were used to support the trailer and boat.
Click for larger view

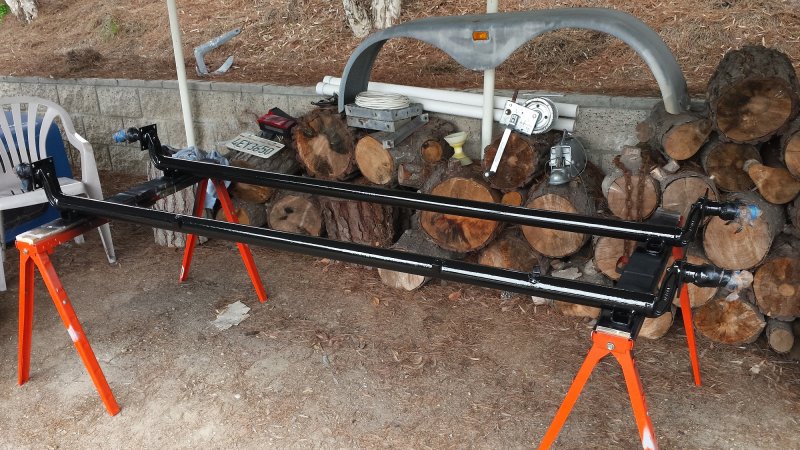
I started the cleaning process using wire brushes and a drill with wire wheel. Then I power washed it, let it dry and wiped it down with Acetone.
Click for larger view

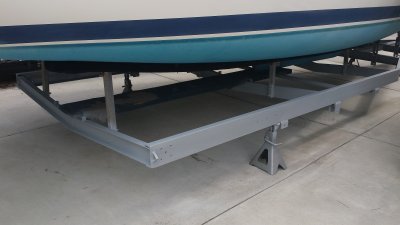
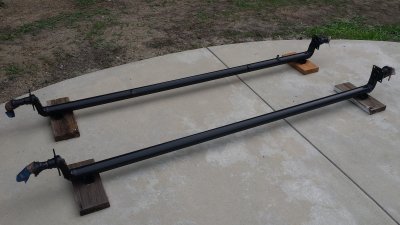
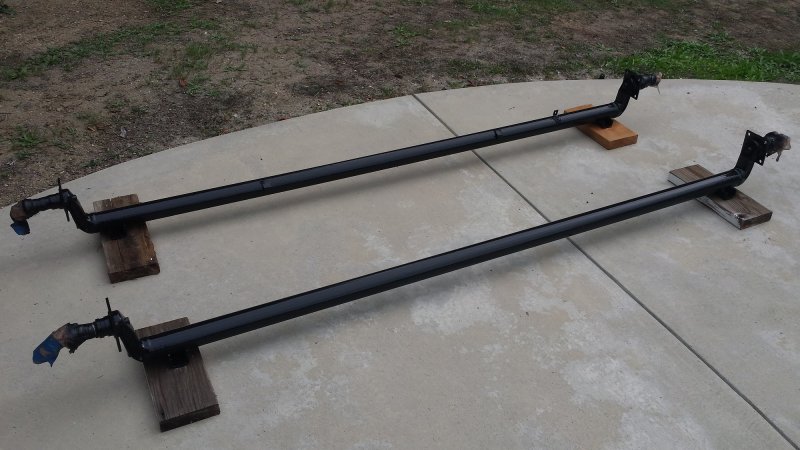
The entire frame was then re-finished using Rust-Oleum Cold Galvanizing Compound, giving it a fresh new look.
Click for larger view
Click for larger view

Click for larger view
Click for larger view
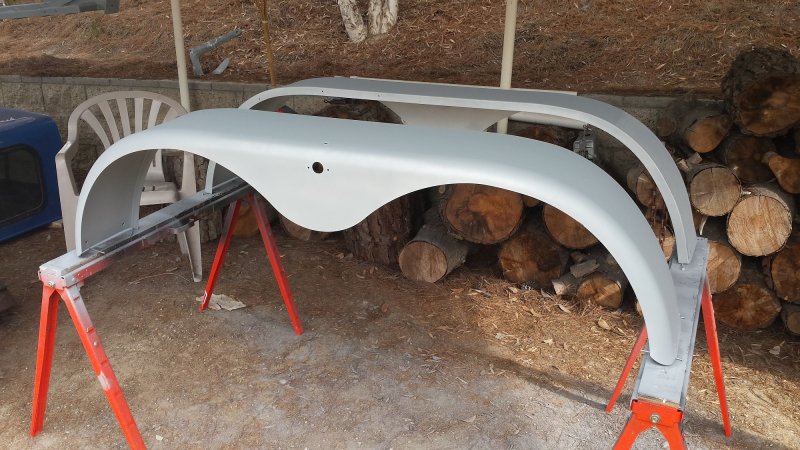
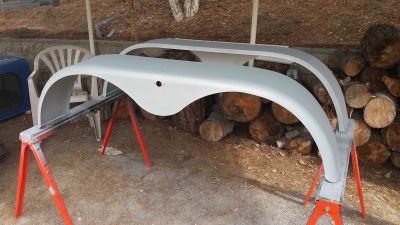
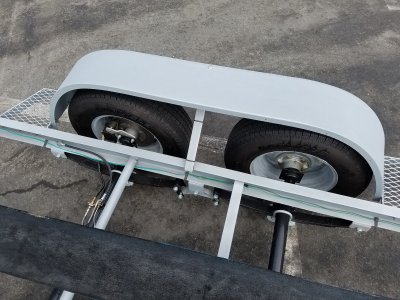
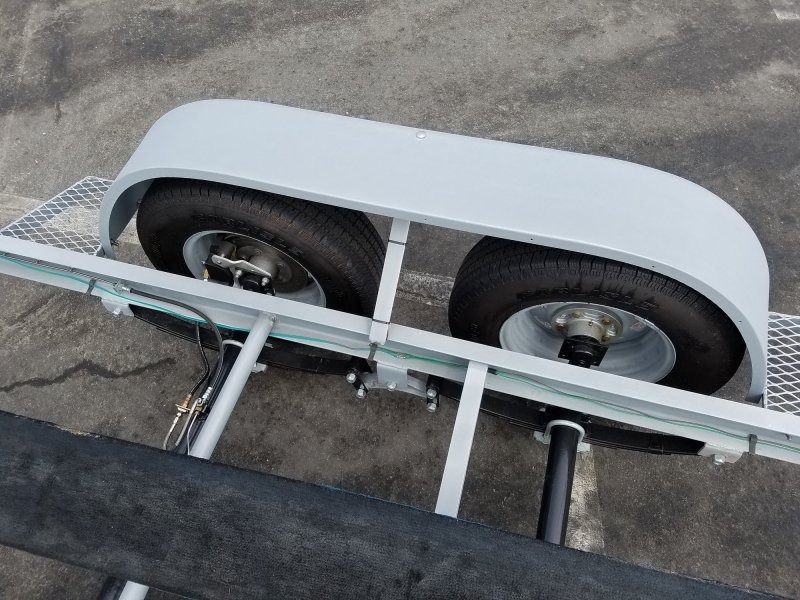
The fenders did have rust on the underside from rocks being thrown up by the tires. All the rust was removed with grinding and wire wheels. The top sides were in good shape. They received several coats of Cold Galvanizing Compound.

Click for larger view
The axles also had considerable rust, as they are not galvanized. I thought about buying new galvanized axles, but opted to clean them up and repaint. I did extensive grinding and wire brush work. Then used Rust-Oleum Professional Primer and Enamel applying several coats. I hope the axles last several years, though I may need to replace them someday.
Click for larger view
They look pretty good, I hope they last!

Click for larger view
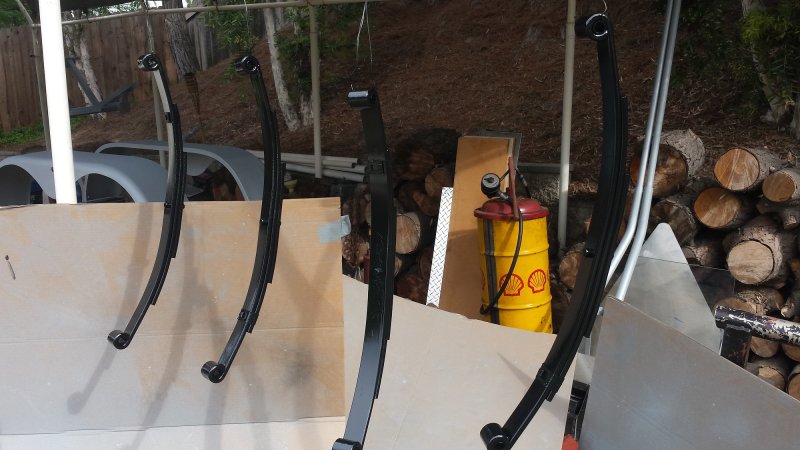
These are new Leaf Springs. Of course they were already painted, but a couple more coats of Rust-Oleum Professional Enamel was applied.

Click for larger view
Click for larger view
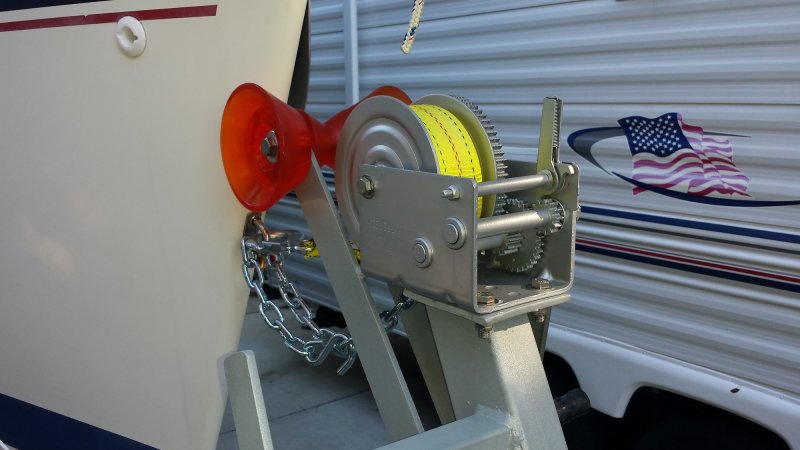
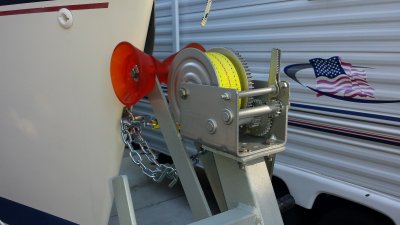
This is the original 2 speed winch. It did have a little rust, not too much. It was cleaned up and refinished with silver Rust-Oleum Enamel. Also a new Bow Roller was installed, along with a new Winch Strap.
Click for larger view

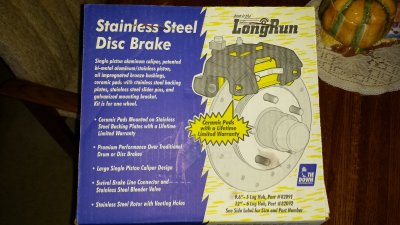
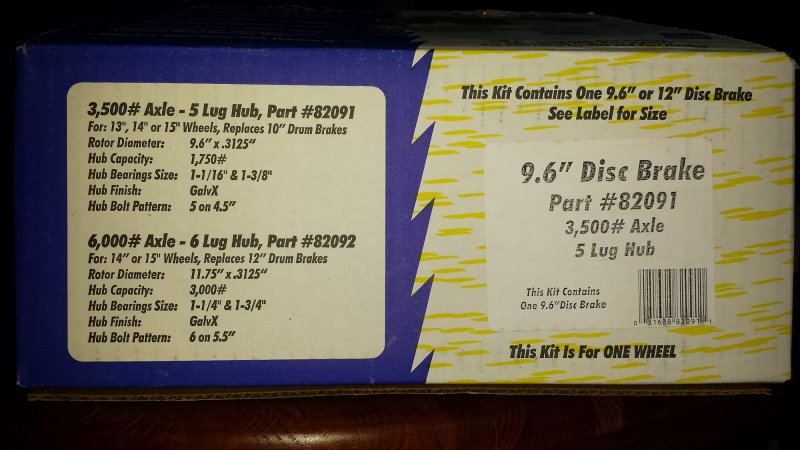
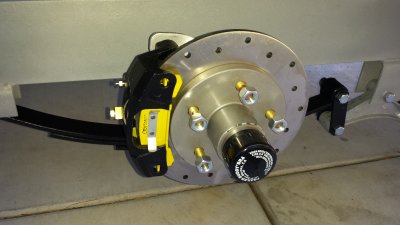
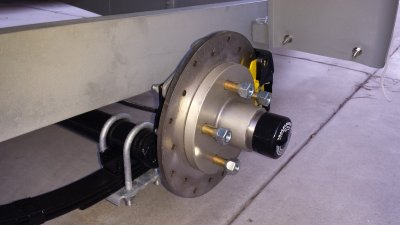
New Tie Down Stainless Steel Disc Brakes.

Click for larger view
Click for larger view
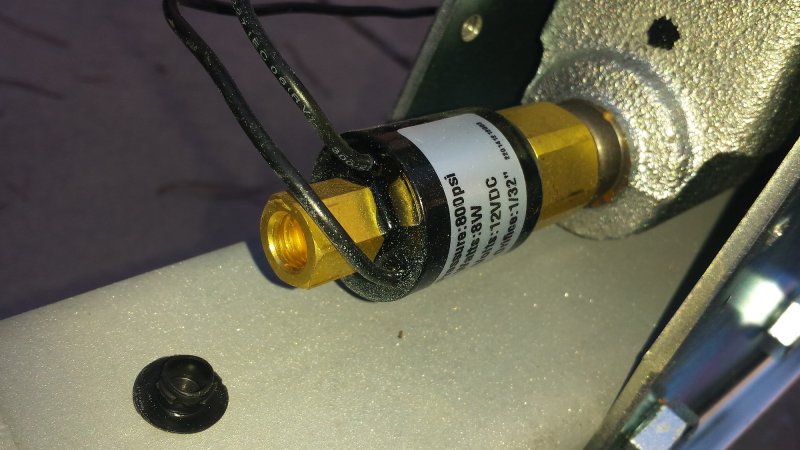
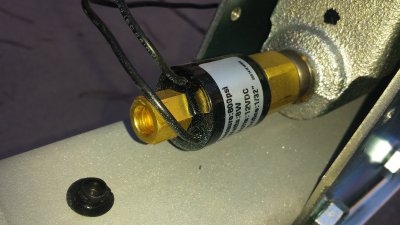
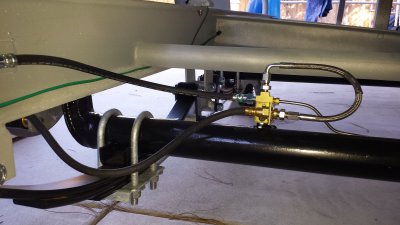
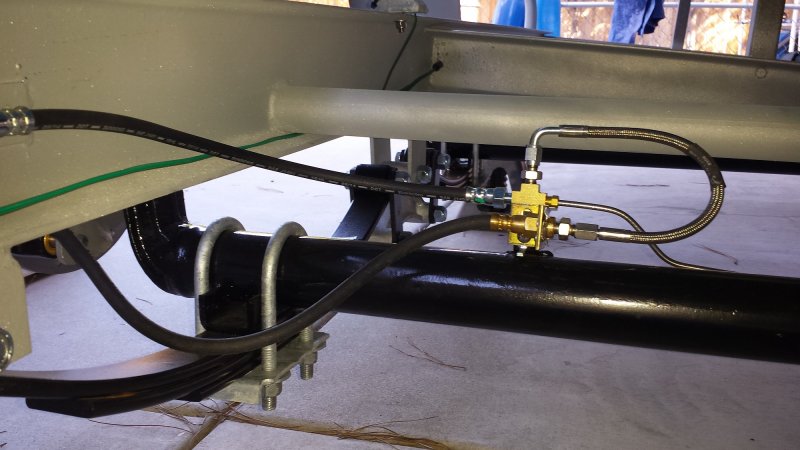
Reverse lockout solenoid, prevents braking while backing uphill.

Click for larger view
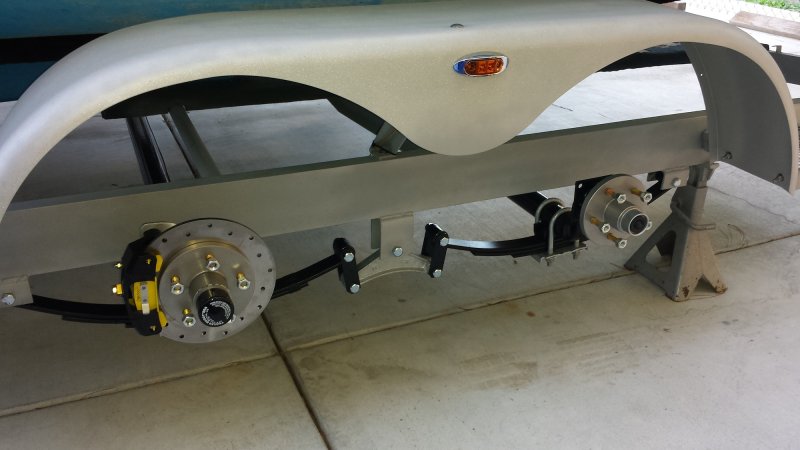
New hubs, bearings and all hardware.
Click for larger view

Stainless Steel Bearing Buddies.
Click for larger view

Click for larger view
Click for larger view
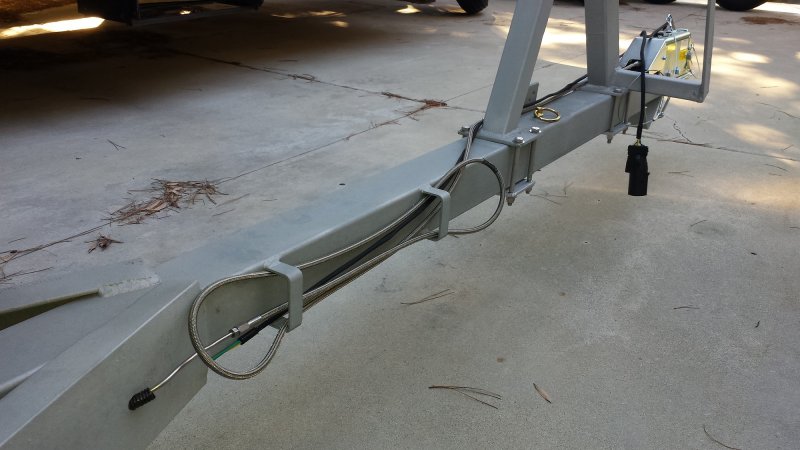
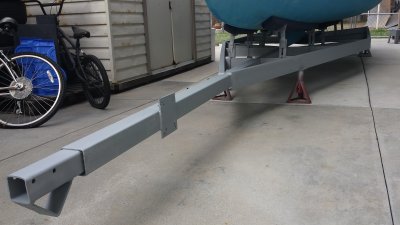
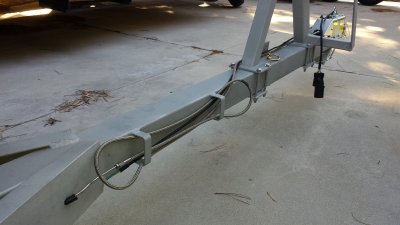
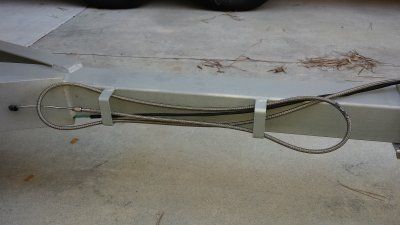
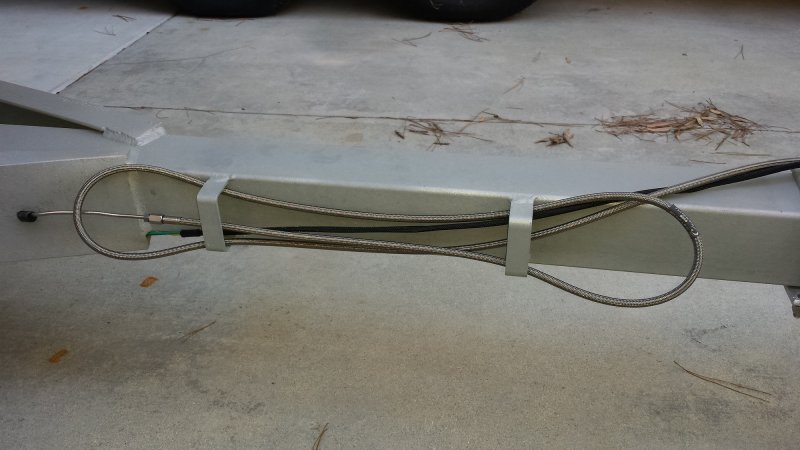
In order to keep the original tongue extension capability, the 10 ft hydraulic brake line needed to be replaced. The original was in terrible shape, dried out and cracked all over. A new replacement was not readily available, so custom braided stainless steel lines were made, which included the short piece on the brake axle.
Click for larger view
Click for larger view
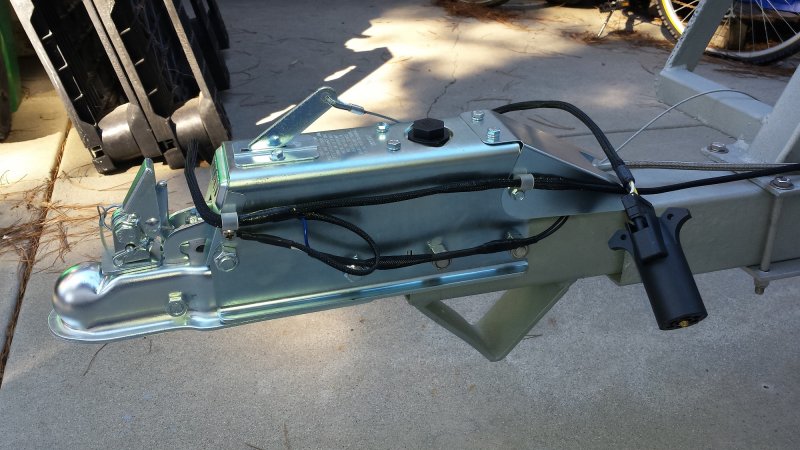
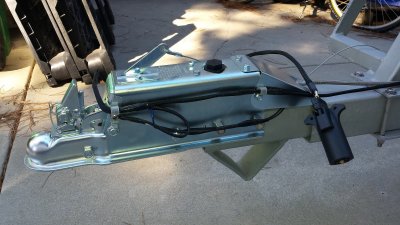
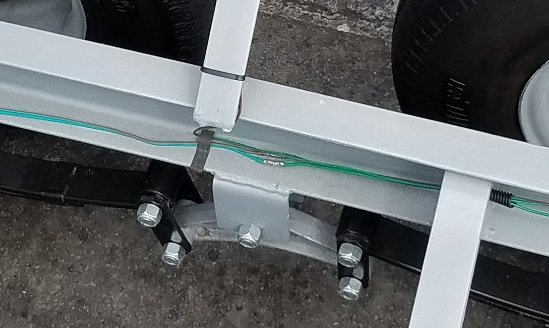
New hydraulic brake actuator. Here you can see the wiring harness that is jacketed with nylon braid.

Click for larger view
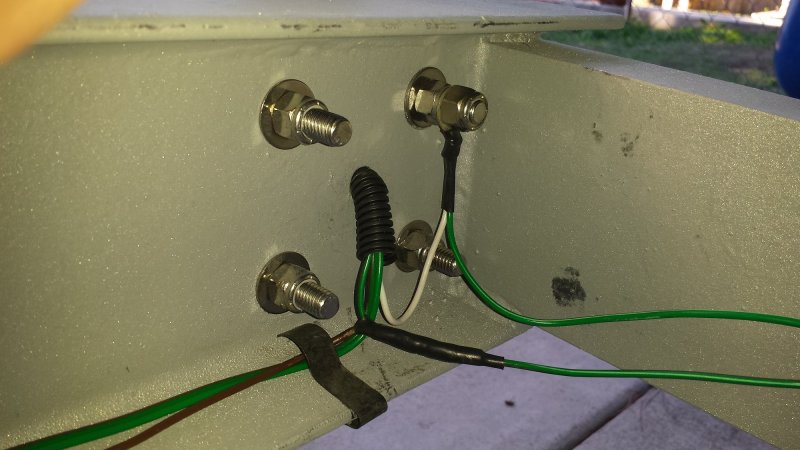
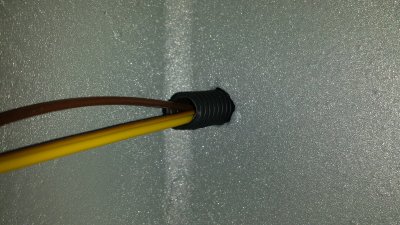
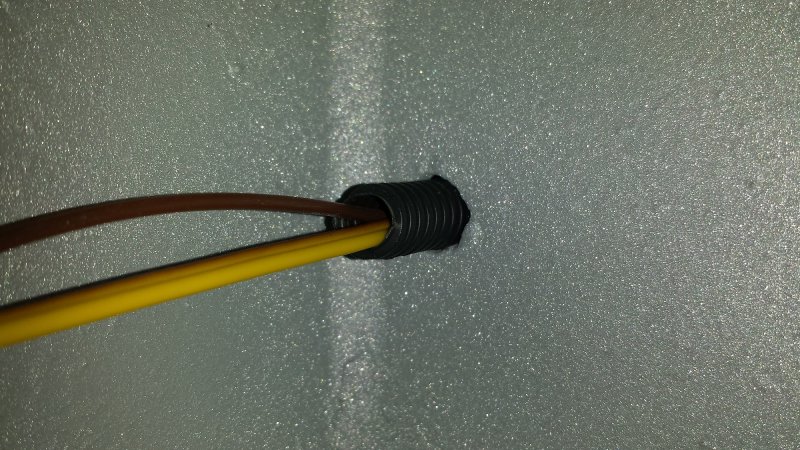
All nuts/bolts are new stainless steel. Wherever wires go through a hole, a piece of electrical wire protection is inserted to protect from chaffing.
Click for larger view

Click for larger view

Click for larger view

Waterproof heat shrink butt splice connectors were used.
Click for larger view
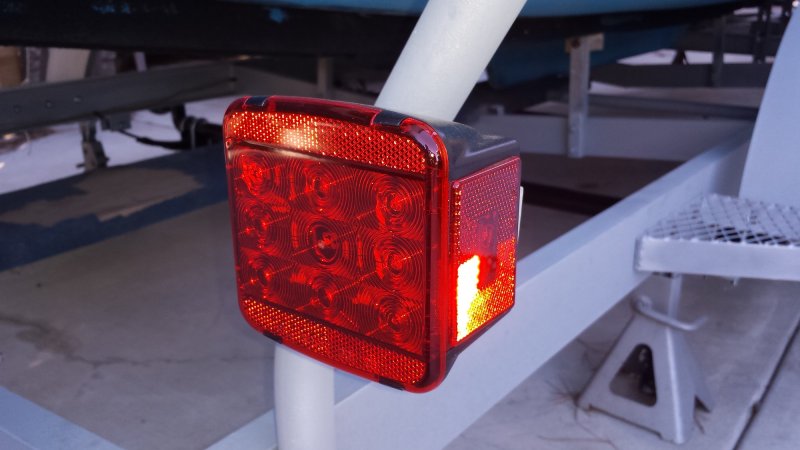
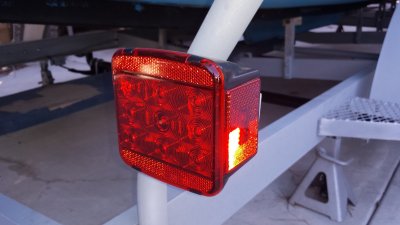
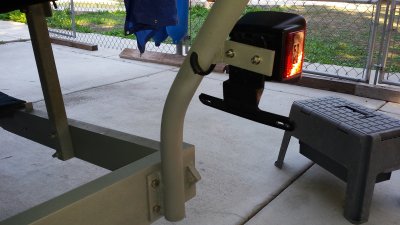
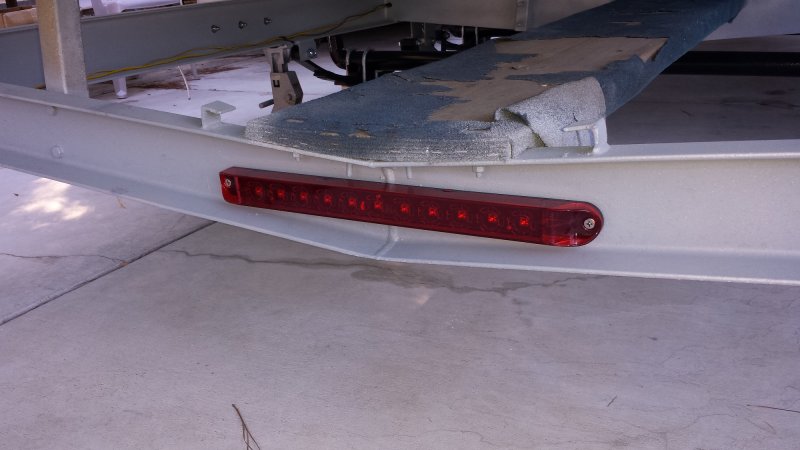
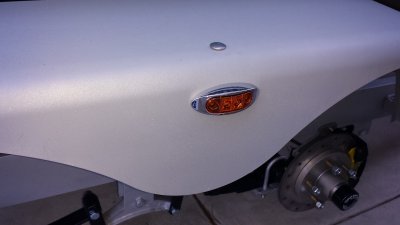
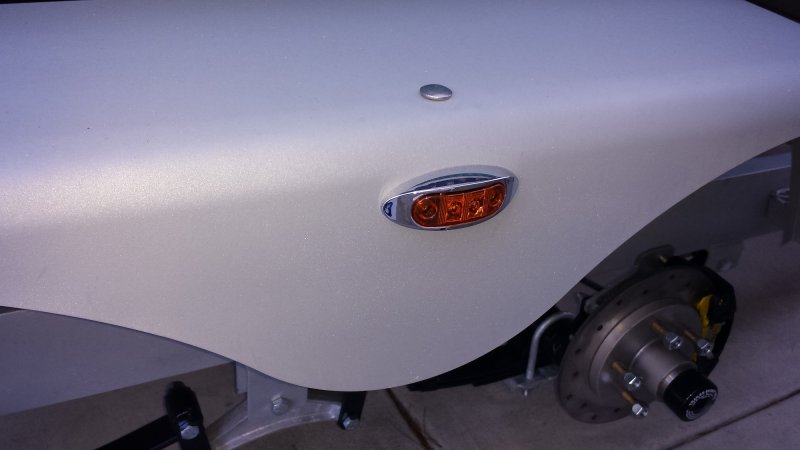
All lights replaced with LEDs.
Click for larger view

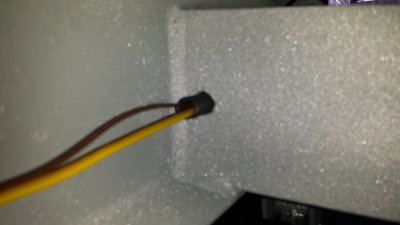
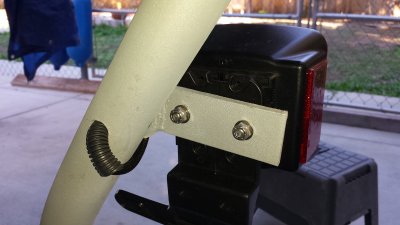
Here again you can see how the wires are protected as they are fed through a hole in the guidepost.
Click for larger view


Click for larger view
Click for larger view

Click for larger view
Click for larger view
The hydraulic brake lines are also stainless steel.

Click for larger view
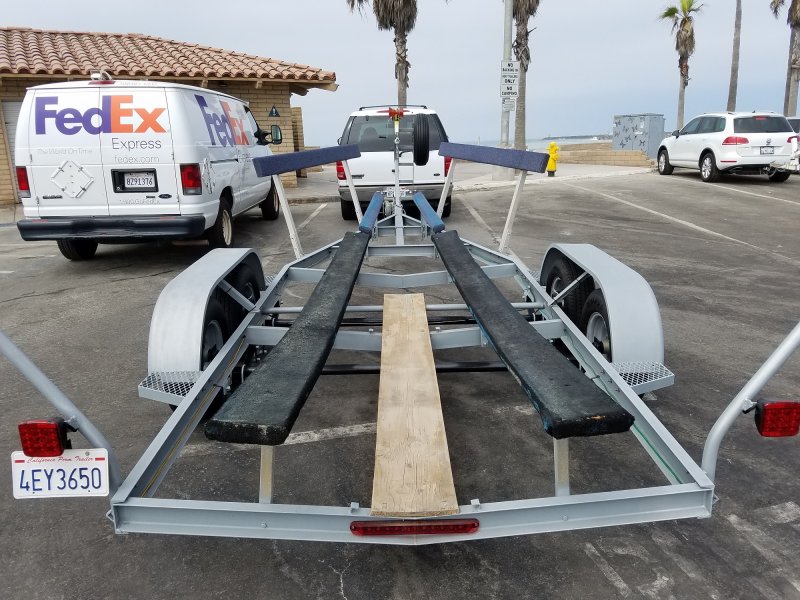
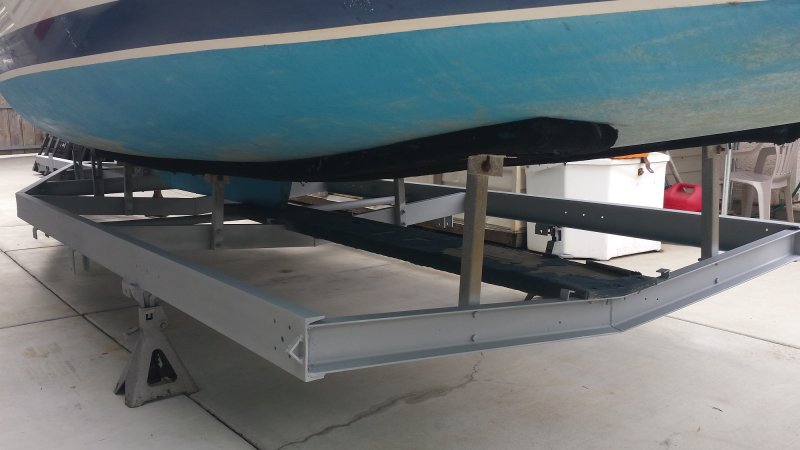
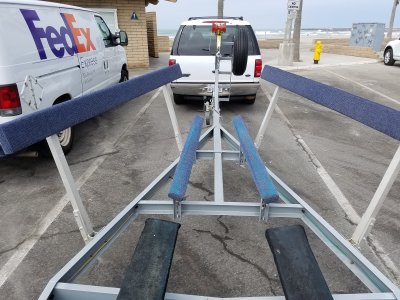
Here you can see the additional guides installed by the PO. The side guides are made of heavy aluminum square tubing, very strong and helpful centering the boat while putting back on trailer. Also, you can see the additional bunk supports for the bow.
New bunk carpet will finish the job.
New bunk carpet will finish the job.
Click for larger view
