Serving sailors online since 1997
Hunter OEM Parts
General Marine Parts
H37C Chain Plates
posted 06-30-2017 by Jim Legere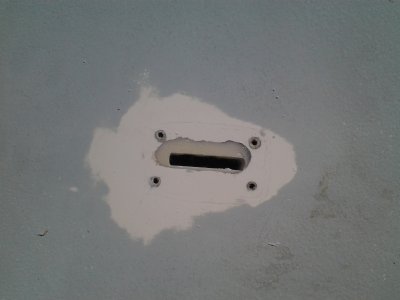
Click for larger view

Removing the chain plates is as easy as unscrewing the escutcheon plates and then undoing the five bolts below decks. You will need a second pair of hands for the forward lowers. The original holes were uneven and messy and the wood core was exposed. Water had been getting into the core when the caulking failed. Using a zip cutter as a small router, I cut back the deck openings to clean core with a 3/8 core box bit. I taped the holes closed below decks and filled the openings with thickened epoxy. Using one of escutcheon plates screwed into the original screw holes as a template , I routed out the slots in the cured epoxy with a 1/4 zip cut bit. They are now a much closer fit around the chain plates. Here you can see that the original opening cut by the Hunter builders was ragged and uneven, but it has been filled by the epoxy and the new slot is the size and shape it should be.

Click for larger view
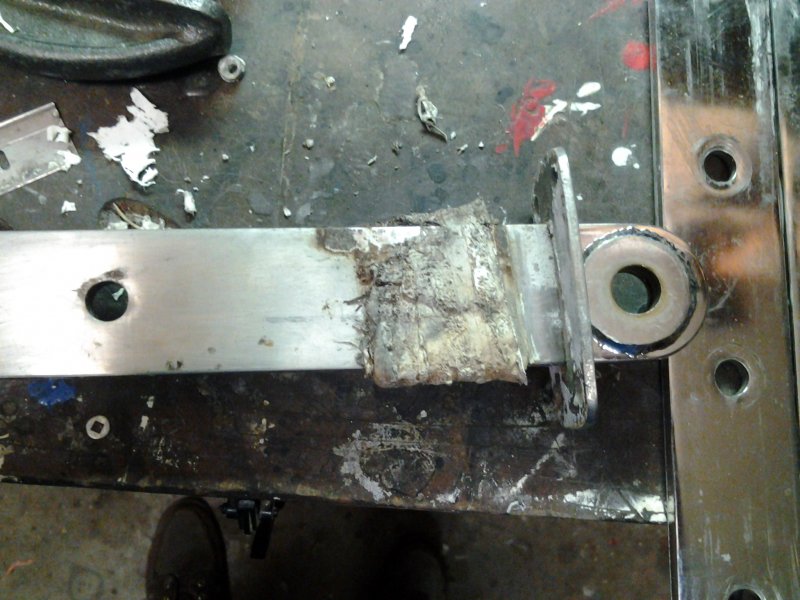
When I re-bedded the chain plates a few years ago, I used polysufide caulk (LifeCaulk); it was probably pretty good for three or four years. Eventually the bond between the caulk and the wood coring of the deck failed - it was still adhering well to the chain plates. By filling the holes with epoxy ans recutting the slots, the wood coore is now out of the equation. While I had the chain plates out, I cleaned them thoroughly and examined them very carefully with a 10X jewelers magnifying loupe. I paid particular attention to area that penetrates the deck and the area above the upper bolt hole. The inspection can also be done with a dye penetrant inspection kit, but I am confident there are no cracks. There was some very minor staining/pitting where leaking water had started a bit of pitting corrosion but polishing the chain plates with 120, 220, 400, 600 and 1000 grit sandpaper and finally rubbing compound brings them back to a near-mirror finish.
Click for larger view

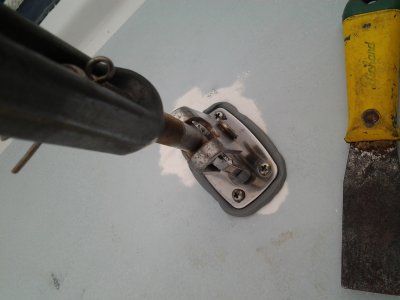
This time I purchased a roll of Bed-it Marine Butyl Tape and followed Maine Sails excellent advice for bedding deck fittings in butyl (you can find his explanation of the technique here: http://www.pbase.com/mainecruising/rebedding_hardware). I am pretty confident I will never have to do this job again. After this picture was taken, I cleaned up the excess butyl that was squeezed out. Soon I will repaint the non-skid areas of the decks...the projects never end!